Get Your Rental Bond Back in 5 Steps

Getting Your Rental Bond Back

Did you pay a bond to your landlord at the beginning of the lease?

Then you must get it back after the lease period ends. Your landlord is bound to pay it back in full with interest (if applicable) within a stipulated time unless he claims compensation for some damages or maintenance.

Rental Bond Back in 5 Steps

Don’t worry – here’s how to get your rental bond back in 5 easy steps.

Get Your Rental Bond Back in 5 Steps

  1. Participate in the Inspection and Work out a Payment Method

You should participate with your landlord for the inspection of your property to make sure everything is all right. Companies like www.probondcleaningbrisbane.com.au offer bond back gaurantees if you do not want to clean yourself. The landlord can raise an issue if he notices some damage or required maintenance.

You both should work out any issues on the spot and determine the method of bond repayment. If the landlord agrees, he has to fill out the Claim for Refund of Bond Money.

Then he has three options-

  • He can give it directly to you for submitting to Fair Trading
    He can submit it on your behalf
  • It can also be done online if you have a Rental Bonds Online account.

You get the money of your bond right away after submitting it with Fair Trading.

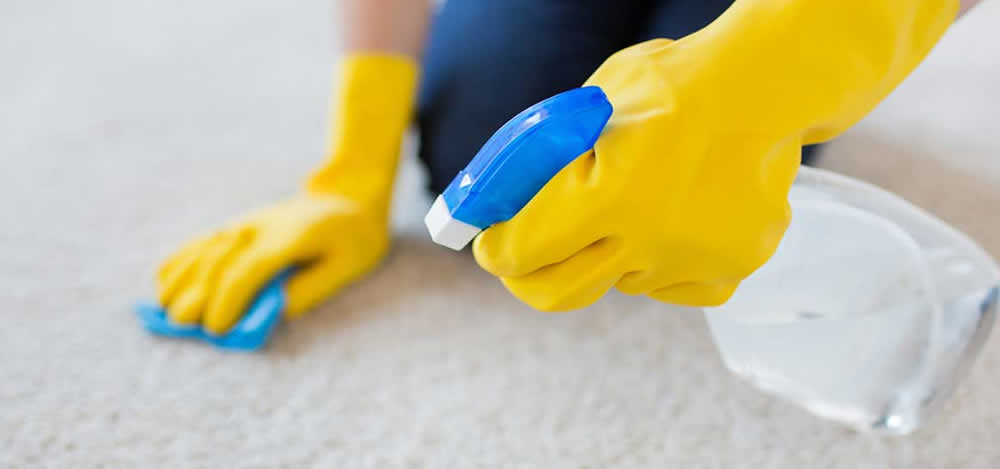
  1. Go in for Cleaning to get 100% Bond Back

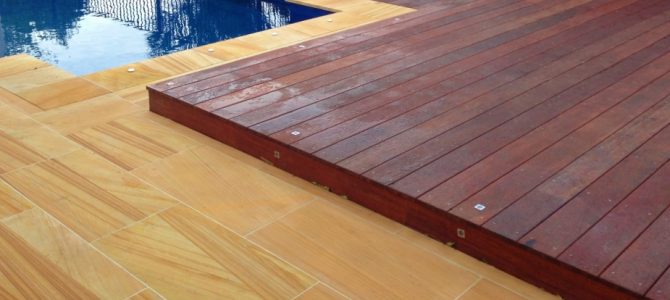
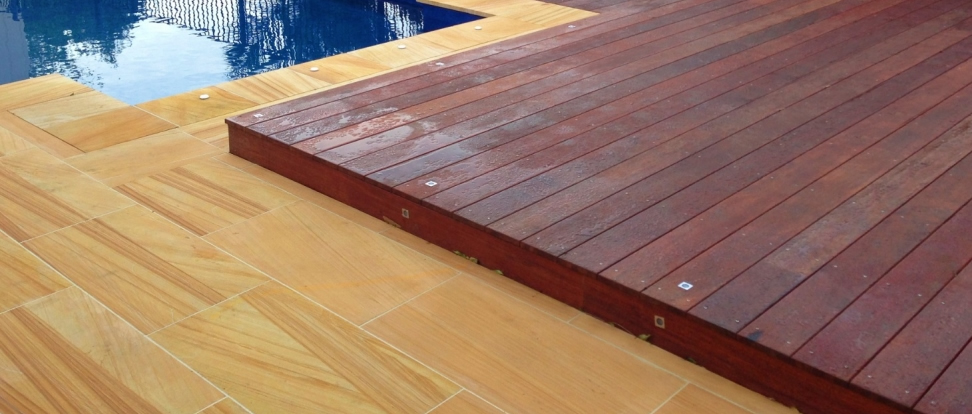
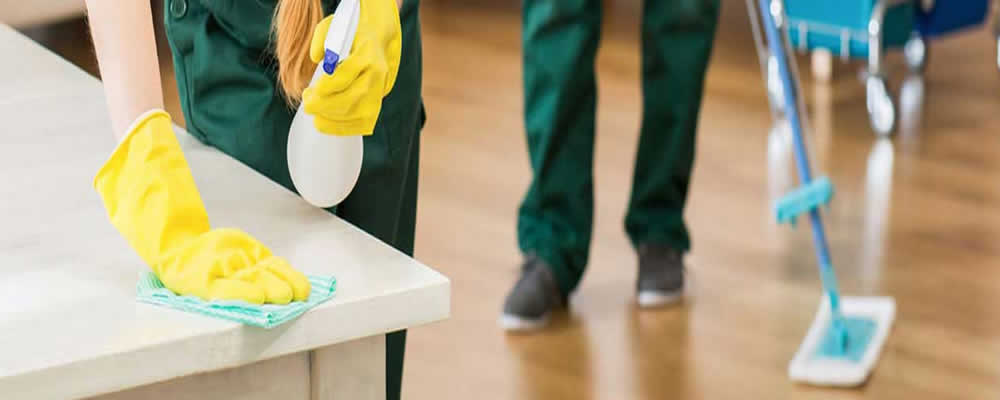
The one major reason landlords may hold back on your bond claim is because of damages to the property. If you have not kept the property well, and it has anything from a broken tap to a dirty carpet, you may have to lose out on your rental bond.

Instead, you could try and ensure that you carry out an end of lease cleaning – which includes cleaning everything from the cupboard to the bathroom and the kitchen.

Unfortunately, that is easier said than done – it’s nearly impossible to clean carpets properly if you do not hire the experts. Dry cleaning helps remove all baceria, stains and dirt from carpets, so that your landlord has nothing to complain about. Hiring experts make the process easier and quicker, saving you more time.

  1. Cases of Disagreement

The terms of repayment should have been set out right at the time you moved in. At times, you may not agree to the terms of repayment or the landlord may not initiate the process at right time.

In that case, you can go ahead and lodge a Claim for Refund of Bond Money with your signature only. It can also be done online. The Fair Trading will send a notice to the landlord providing them 14 days to counter your ‘Notice of Claim.’ The landlord has the following choices-

  • He can agree to your claim and it will be refunded in 2 days
  • Both of you can work out a agreement if there are differences
  • He can approach the NSW Civil and Administrative Tribunal to counter your claim

If there is no response from the landlord within 14 days, your bond will be repaid according to your claim.

  1. Landlord’s Claim

Your landlord can also go ahead and lodge a claim with Fair Trading. They should send you all the required invoices, documents, inspection report within 7 days of submitting the claim. You will receive a notice from Fair Trading and 14 days to counter the claim of your landlord.

bond back

  1. Countering the Claim

Your landlord and you need to work out and reach an agreement. If that is not possible, only option left to you is to approach the NSW Civil and Administrative Tribunal. The Tribunal will hear your case and retain the bond till the claim is resolved.

Claim Exceptions

Remember that you are not liable to pay for the normal wear and tear of the property. For example, the landlord cannot make a claim for faded or cracked paints, worn out table tops, furniture marks on floor and so on.

post

How To Build A Timber Deck – Building A Timber Deck

How To Build A Timber Deck?

Building a timber deck is actually a practical extension of the house where an outdoor communal area is available for family use ranging from relaxing up to family get together activities.

No family stays within the house walls forever. In one point or another, the family may want to share the outdoors without leaving their home and that’s where building a timber deck is a practical D.I.Y. solution to this.

How To Build A Timber Deck

Let’s see what goes through on how to build a timber deck; one that’s reliable and cost-effective.

Planning

Planning is everything! Before you start digging holes and hammering your outdoor space, a concrete plan has to be established first which is actionable through these considerations:

  • 1. Secure a permit to build from the city council

This ensures that from the moment of construction up to its completion; all are covered within city guidelines and no work stoppage will come your way since you already secured the necessary forms from the city building authority.

  • 2. Design plan for the timber deck

This will be your visualization on what form the timber deck will take shape after completion; its design and style. Crucial here are taking the correct measurements of the area where the deck will be built upon.

You are limited by the available space you intend to spare for the outdoor timber deck. Consider the height from the ground to where the deck should stand.

Proper leveling makes sure that deck will be at a flat level once finished. Nobody wants to be walking on a wavy or uneven surface. You may need more than luck in placing your tables and chairs if you have an uneven surface.

The plan should also include the position of the timber deck relative to the house, whether it’ll be facing the front, back, towards the sun or away from the sun. This will depend on your preference.

3. Check the intended ground area

Check what lies on and beneath the ground on where to build the timber deck. Cables and pipes may be beneath the ground on where you’ll be starting to dig holes.

Securing and marking them ensures no damage will be done to existing lines where they serve electricity, water or gas. Therefore, no work stoppage and delay that may happen due to damaging these lines.

Besides, it’ll be expensive and an added cost for any damaged line if you aren’t too careful.

4. Purchase the required building materials

With planning, you should be able to calculate the type and quantity of building materials to be used in building the timber deck.

This saves you time and money as you have already evaluated what materials needed with their sizes and quantity. This also minimizes buying too much or too few of any given material; thus making trips to the hardware efficient.

“Measure twice, cut once.” Check your measurements to ensure no wasting of building materials.

5. Secure the proper tools

Having the proper tools ready at your disposal gives you the time efficiency in building your timber deck. The more suitable the tool is, the faster the work will be finished.

Measure and Lay Out Your Deck

After seeing the measurement in the paper (through your design plan), lay out the proper measurement with careful markings set on the actual ground area.

This includes the actual dimensions, measurement, and height of the ground you will be working upon where parts of the timber deck from the ground up will be installed.

This will also put you in perspective on how building the timber deck will follow its square form and its intended dimensions according to your design plans.

Install the Stumps and Bearers

This is intended for having a firm foundation for the timber deck as they will be holding and supporting the deck from the ground. We’ll start off with the stumps and bearers.

  • Stumps are posts that support the deck.
  • Bearers are the timbers that are attached to the stump.

Read the step-by-step instruction of installing the stumps and bearers.

Install the Joists

After installing the stumps and bearers in their proper positions, what follows next are installing the joists. These are the timbers that are attached across the bearers on which the decking boards are to be attached.

Building A Timber Deck

Lay the Decking

The frame and foundation are now complete with the stump, bearers, and joists in place. Now, you’re ready to install and lay the decking boards. You’re definitely close to the finish line!

Read the step-by-step instruction of how to lay decking from Home Hardware.

Conclusion

Building a timber deck does not only add aesthetics and property value to your house but a common outdoor area in spending quality time with the whole family.

Finishing this gives you a solid sense of fulfillment where you can wonder the beauty of your own project every time you come out.

Make this a labor of love for the family and all the hard work from planning up to construction will surely pay off. Who knows if this will be the start of your home D.I.Y. improvements saving you money and practically adding value to your “home”.

post

6 Top Secret Places Censored By Google Maps – And Why

The Secret Censored Maps

Google Maps is probably one of the best inventions made has ever made in the recent years. It has helped people discover places that they’ve never been to before.

It has also helped travellers find their way back  to their hotels. But did you know that there are certain places on Google Maps  that are censored?

Yes, there are places in Google Maps that are either  censored or blurred. It might be censored to protect the location’s privacy, or  it might be an important location that’s protected by the government, or maybe  it’s a secret hiding spot for aliens.

6 Top Secret Places Censored By Google Maps

Who knows? Don’t believe us? Well, here  are 6 censored places on Google Maps:

1. Roses, Spain

If you look up Roses in Spain you’ll see an odd black shape.  That’s probably because of the fact that Roses is one of the playground of the
rich and the famous.

There are a number of mansions in the area that’s owned by  rich celebrities and politicians that wants to enjoy their privacy.

No secret military base here, just a bunch of rich people enjoying their privacy.

2. The entire country of Israel

It’s pretty common to see one specific area in a country to  be censored or blurred but it’s different but the country of Israel. You see,  the entire country of Israel is blurred.

When you zoom in in one of the places,  it never really fully clears up unlike other places in the world.

It just  remains blurry. That’s because of an act that was passed in 1997 that prohibited certain quality satellite imagery of Israel to be available for  commercial use.

But this act only applies to American companies like Google.

3. Volkel Air base, Netherlands

The Volkel Air base might be based in the Netherlands but it has connections to the US.

When you search the location on Google Maps you’ll see a big chunk of land that looks like military fatigue. That’s because it services both the Netherlands and the US by holding ammunition and repairing  the 52 D Fighter Wing in the area.

4. Minamitorishima Air Field

This Japanese island served as a home to transmitters used  to communicate with nuclear submarines and the Japanese maritime self-defense  force later on.

The island has been deserted for quite some time now but when  you look it up on Google Maps you’ll see some areas that are suspiciously  whitewashed. Are they secretly up to something over there?

5. Mururoa Atoll

The reason why you’ve probably never heard of Mururoa Atoll  is because it’s located in the middle of the South Pacific.

But strangely  enough, if you look it up on Google Maps, you’ll see that half of the island is  in ultra-low resolution.

That’s because 175 French nuclear weapons was tested  here in the 20th century. Coincidentally, those tests were done in  the part of the island that’s hard to see on Google Maps.

6 Top Secret Places Censored By Google Maps

6. The Mexico-America Border

The Mexico-America Border is a pretty huge talking point.  They take their security seriously over there so it’s no surprise to see that  the Mexico-America border is blurred on Google Maps.

When you see the Hudspeth county in Texas, you’ll see that the image is distorted. That’s to prevent any  illegal smuggling of drugs or weapons in the country.

post

6 Reasons Why Businesses Fail

 Reasons Why Businesses Fail

Businesses Fail

Many reasons can lead to the failure of a business, no matter how big or small it is. When starting any business, your main aim is gaining as much as you can, and failure is usually the last thing you expect. One mistake new business owners make is rushing to make money, without  familiarizing themselves with the rules of the game.

Make sure you are conscious about what you want to achieve, and how you will achieve such goals. So as to get to such a point, you need to know what makes someone successful in their business, as well as factors that affect their success. This article will focus on the various factors that make someone fail in their business:

  1. Lack of capital

Capital is an essential part of any business. Though it is mostly used to start the business, the capital must also be enough to sustain the business for at least six months or so. Many entrepreneurs, which are too eager to start their own business fail because of the lack of capital to maintain their business until clients could come in.


  1. Lack of experience

Other than the capital, experience, and knowledge in the business are also very important. According to many experts, though capital is used to maintain the business, experience and knowledge are said to be used to sustain the business until it reaches its success. These, along with the lack of capital, are some of the few reasons why many businesses, such as a wholesale clothing business, fail in their first year.


  1. Lack of clients

Lack of experience means lack of customers which in turn means the lack of income. Because of this, many businesses would eventually fail within a few months. Many experts agree that before starting a business, such as a wholesale clothing business, make sure that you already have a stable number of clients that would do business with you after you started your own business.

Having the knowledge of where to get more clients is also a big factor in the success of a business. There are many ways to get more clients. According to many experienced entrepreneurs, business conventions are popular events in which people could meet other business owners, who could also turn out to be clients for them. Other than business conferences, business magazines, and the Internet are also popular places to look for clients.

6 Reasons Why Businesses Fail

  1. Lack of passion

Passion is everything. Other than capital and experience, one should also be passionate about their business. According to many experienced entrepreneurs, passion and love of the business are what allows them to continue on their business even though it failed.

Passion allows them to have the courage and strong will to face every risk that comes into their business.

  1. Lack of uniqueness

Being unique is important. How you differ from your compeition is a unique selling point. It assures the clients that you have your own vision. What else is more pleasing to a client than original ideas, which they are sure the seller has adequate knowledge about?

We all like being original, which is why people would pay a little extra for something unique. It’s good to make sure that your business has its own uniqueness, such that even other business owners feel like they would like to copy your ideas.

  1. Inconvenient locations

There are kinds of businesses that highly depend on ease of access or passing trade, and for such businesses, location is key, if you want to succeed. As much as quality services make customers travel a long way to access the service provider of their choice, the distance involved will also matter a great deal. Make sure that your business is easily accessible to your clients so that everything about your business becomes perfect.

Conclusion

The above reasons are what you need to be aware of, before embarking on any business journey. Keep in mind that any wrong move could make things go wrong, and you will have no one to blame, given that you had the chance to make things right.